Back in 2017, luxury fashion house Chanel did a "Data Center Collection" runway show featuring a bunch of their classic purse designs with integrated LED displays. I don't think these pieces were ever sold to the general public, but I managed to find a "Lambskin LED Boy 2.0 Clutch" on a fashion resale website sold as non-working. I got the display system back up and running as a Valentine's Day gift for my wife, and I also reverse-engineered the image format used by the firmware and put some of my own animations on there. Although there isn't anything earth-shattering from an electronics perspective inside, I couldn't find anything on the Internet indicating whether anyone else had ever tried to repair or hack one of these, so I'll share some notes of what I've found so far.
Accessing the electronics
The electronics don't appear to be intended to be user-serviceable, but they also aren't difficult to get to with some care, a 1/16" Allen wrench, a 000 Phillips screwdriver, and a nylon spudger. The LED panel and controller board are mounted inside a pocket on the front of the bag, with a grille on the outside allowing the lights to be seen, and a leather divider protecting the electronics from the inside of the bag, with a little button-up flap revealing the USB-C charging port, and a small cutout indicating where the controller button is. This flap is fastened to the outside of the bag with three leather screws; at first I thought these were permanent rivets, but thankfully they come undone with the 1/16" Allen wrench. Two zippers hidden on the edges of the flap unzip to allow the flap to open and give access to the electronics.
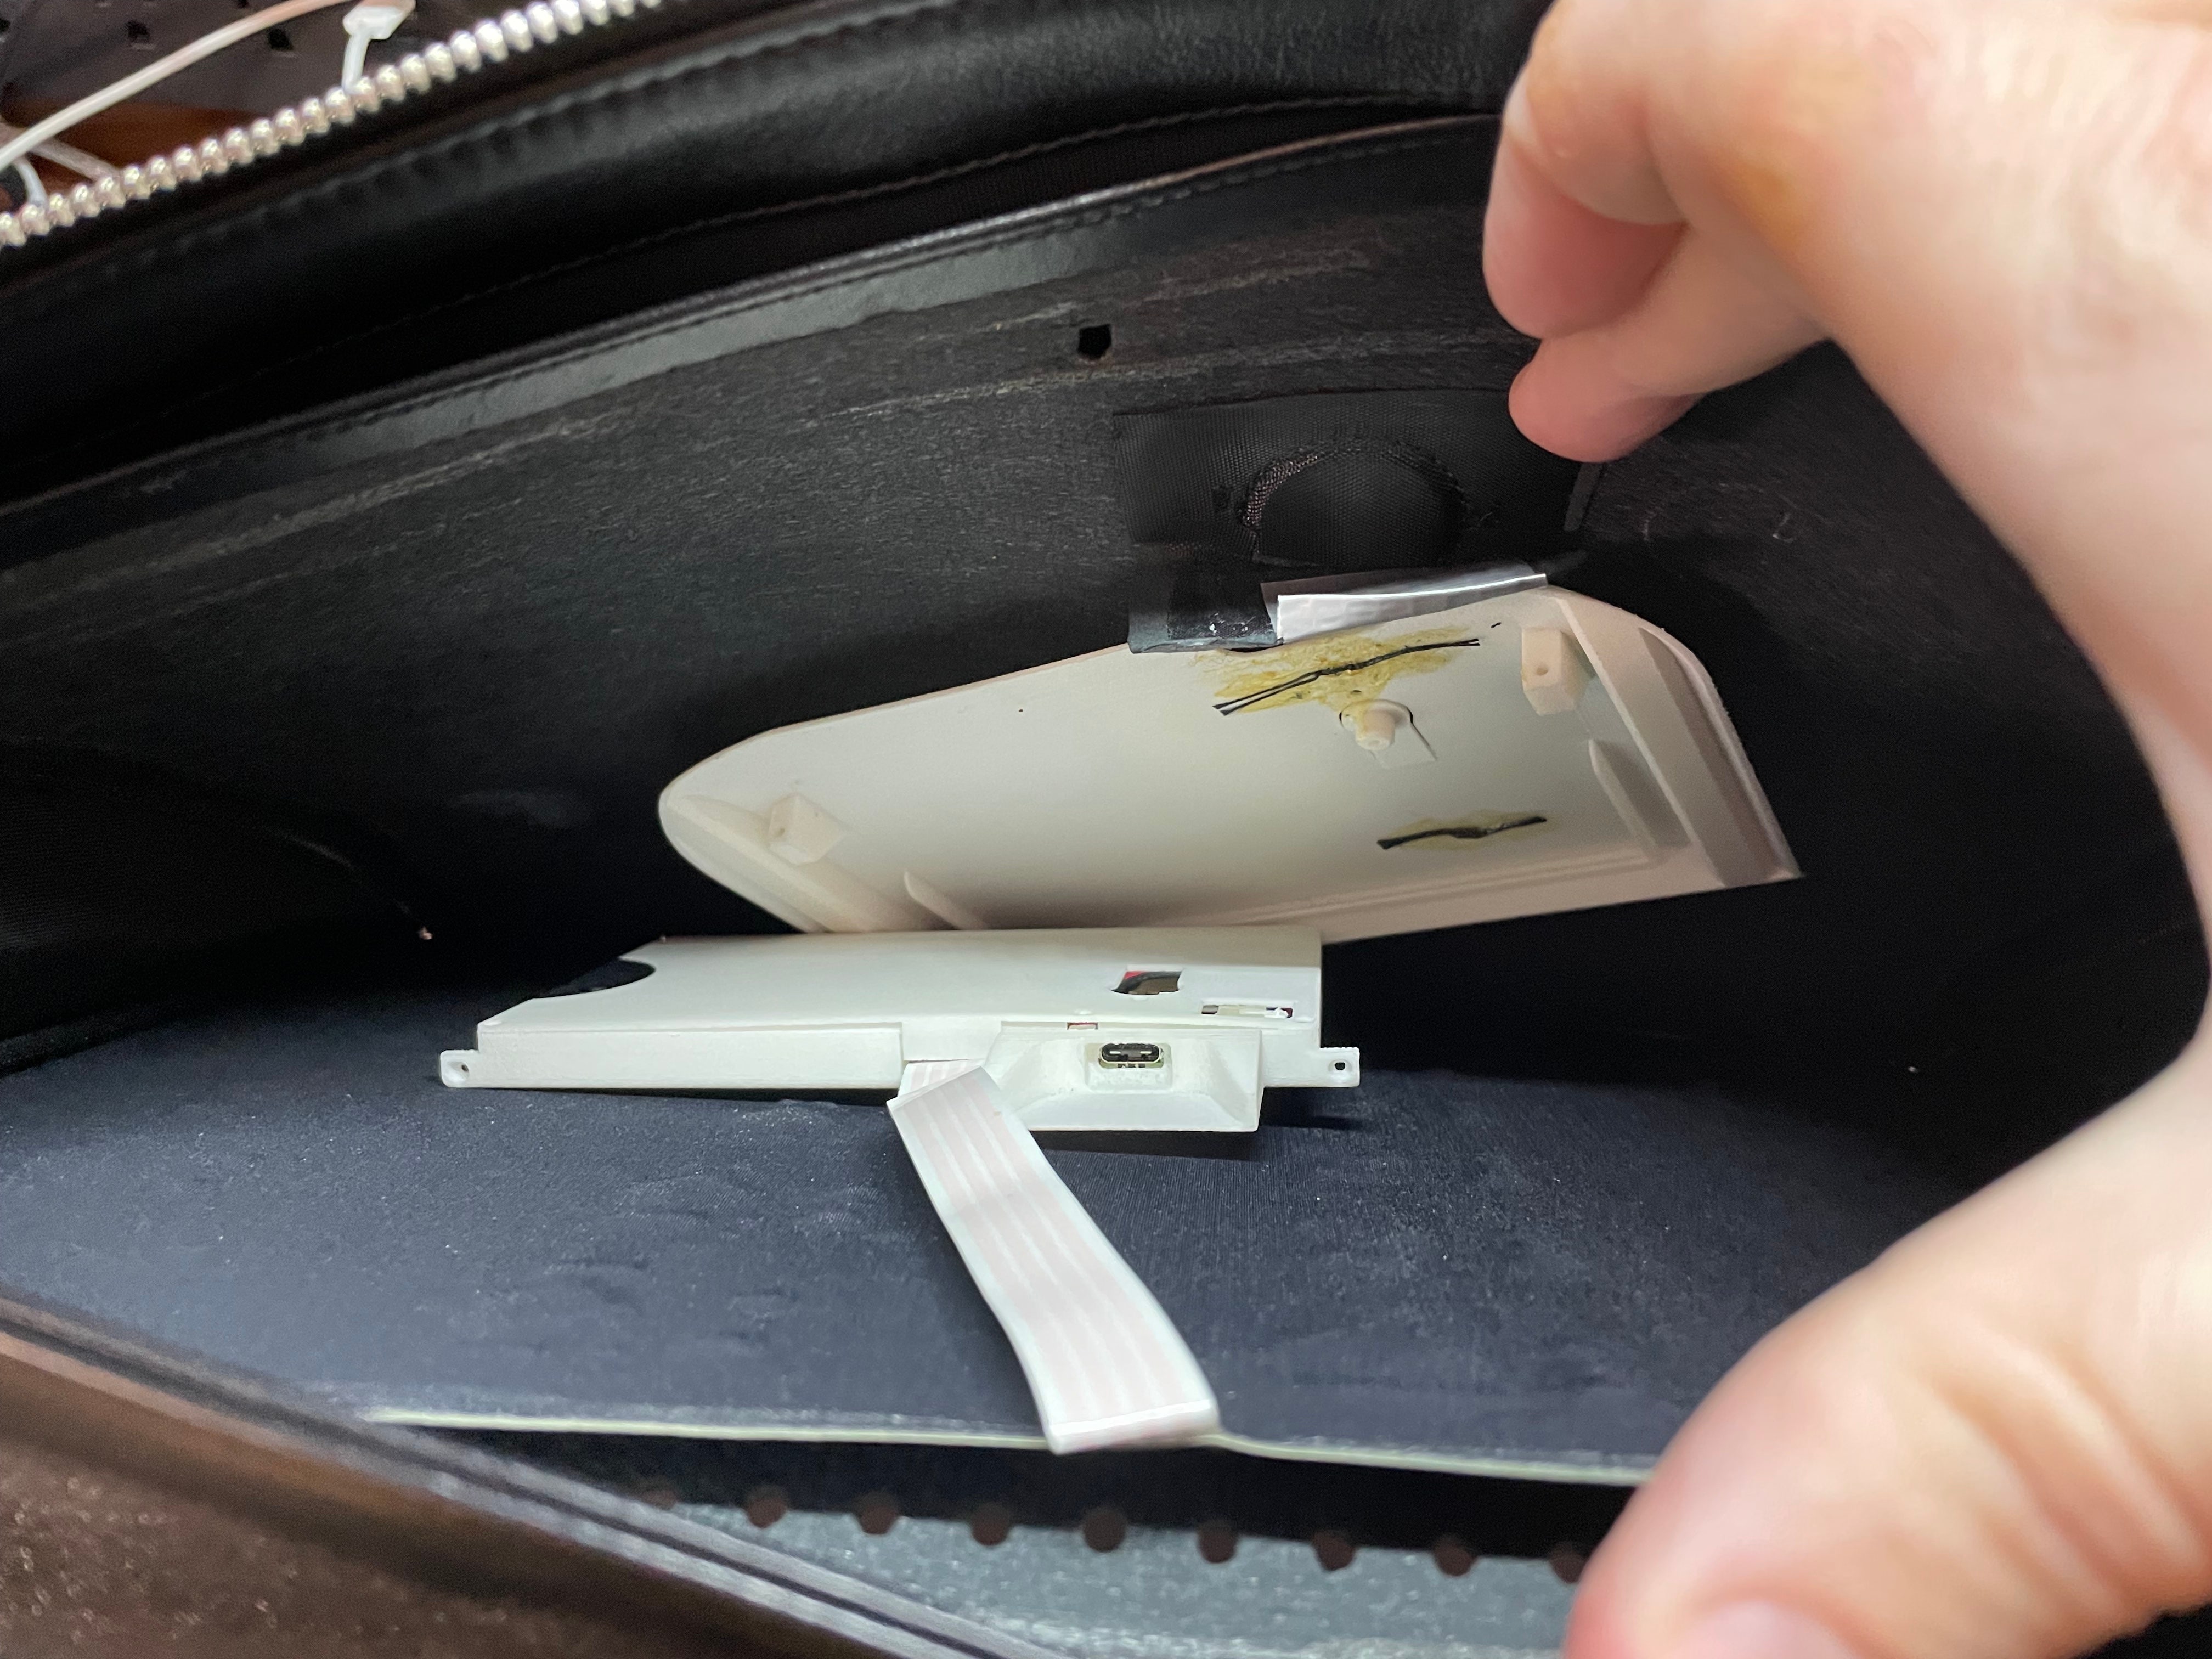
Inside the flap, there's the LED panel, which is glued to the front of the bag along the left and right edges, and the controller board case, with an outer shell sewn and glued to the back of the flap. A four-conductor ribbon cable comes out of the top of the LED panel and feeds into the controller board case. The case feels like 3D-printed PLA. I didn't want to undo the stitches holding the outer case in place, since I don't have the sewing skills to replace them, but thankfully the inner case detaches after undoing two more 1/16" Allen screws. A bit of glue and duct tape also holds it in place, but the adhesive is mild and comes off with some gentle spudging. The ribbon cable is soldered to the controller board inside, but there's just enough slack to pull the inner controller board case out of the bag for inspection.
The LED panel consists of a 32 x 24 grid of RGB pixels, spanning the entire front of the display. Each pixel consists of separate red, blue, and green LEDs, and there appears to be some intentional imperfection in how each pixel lines up with the openings on the grille. The grille material itself is also very thick, so the color separation and skew gives a cool twinkle effect, giving slight color variations depending on viewing angle and the position of the pixels in the panel.
The controller board
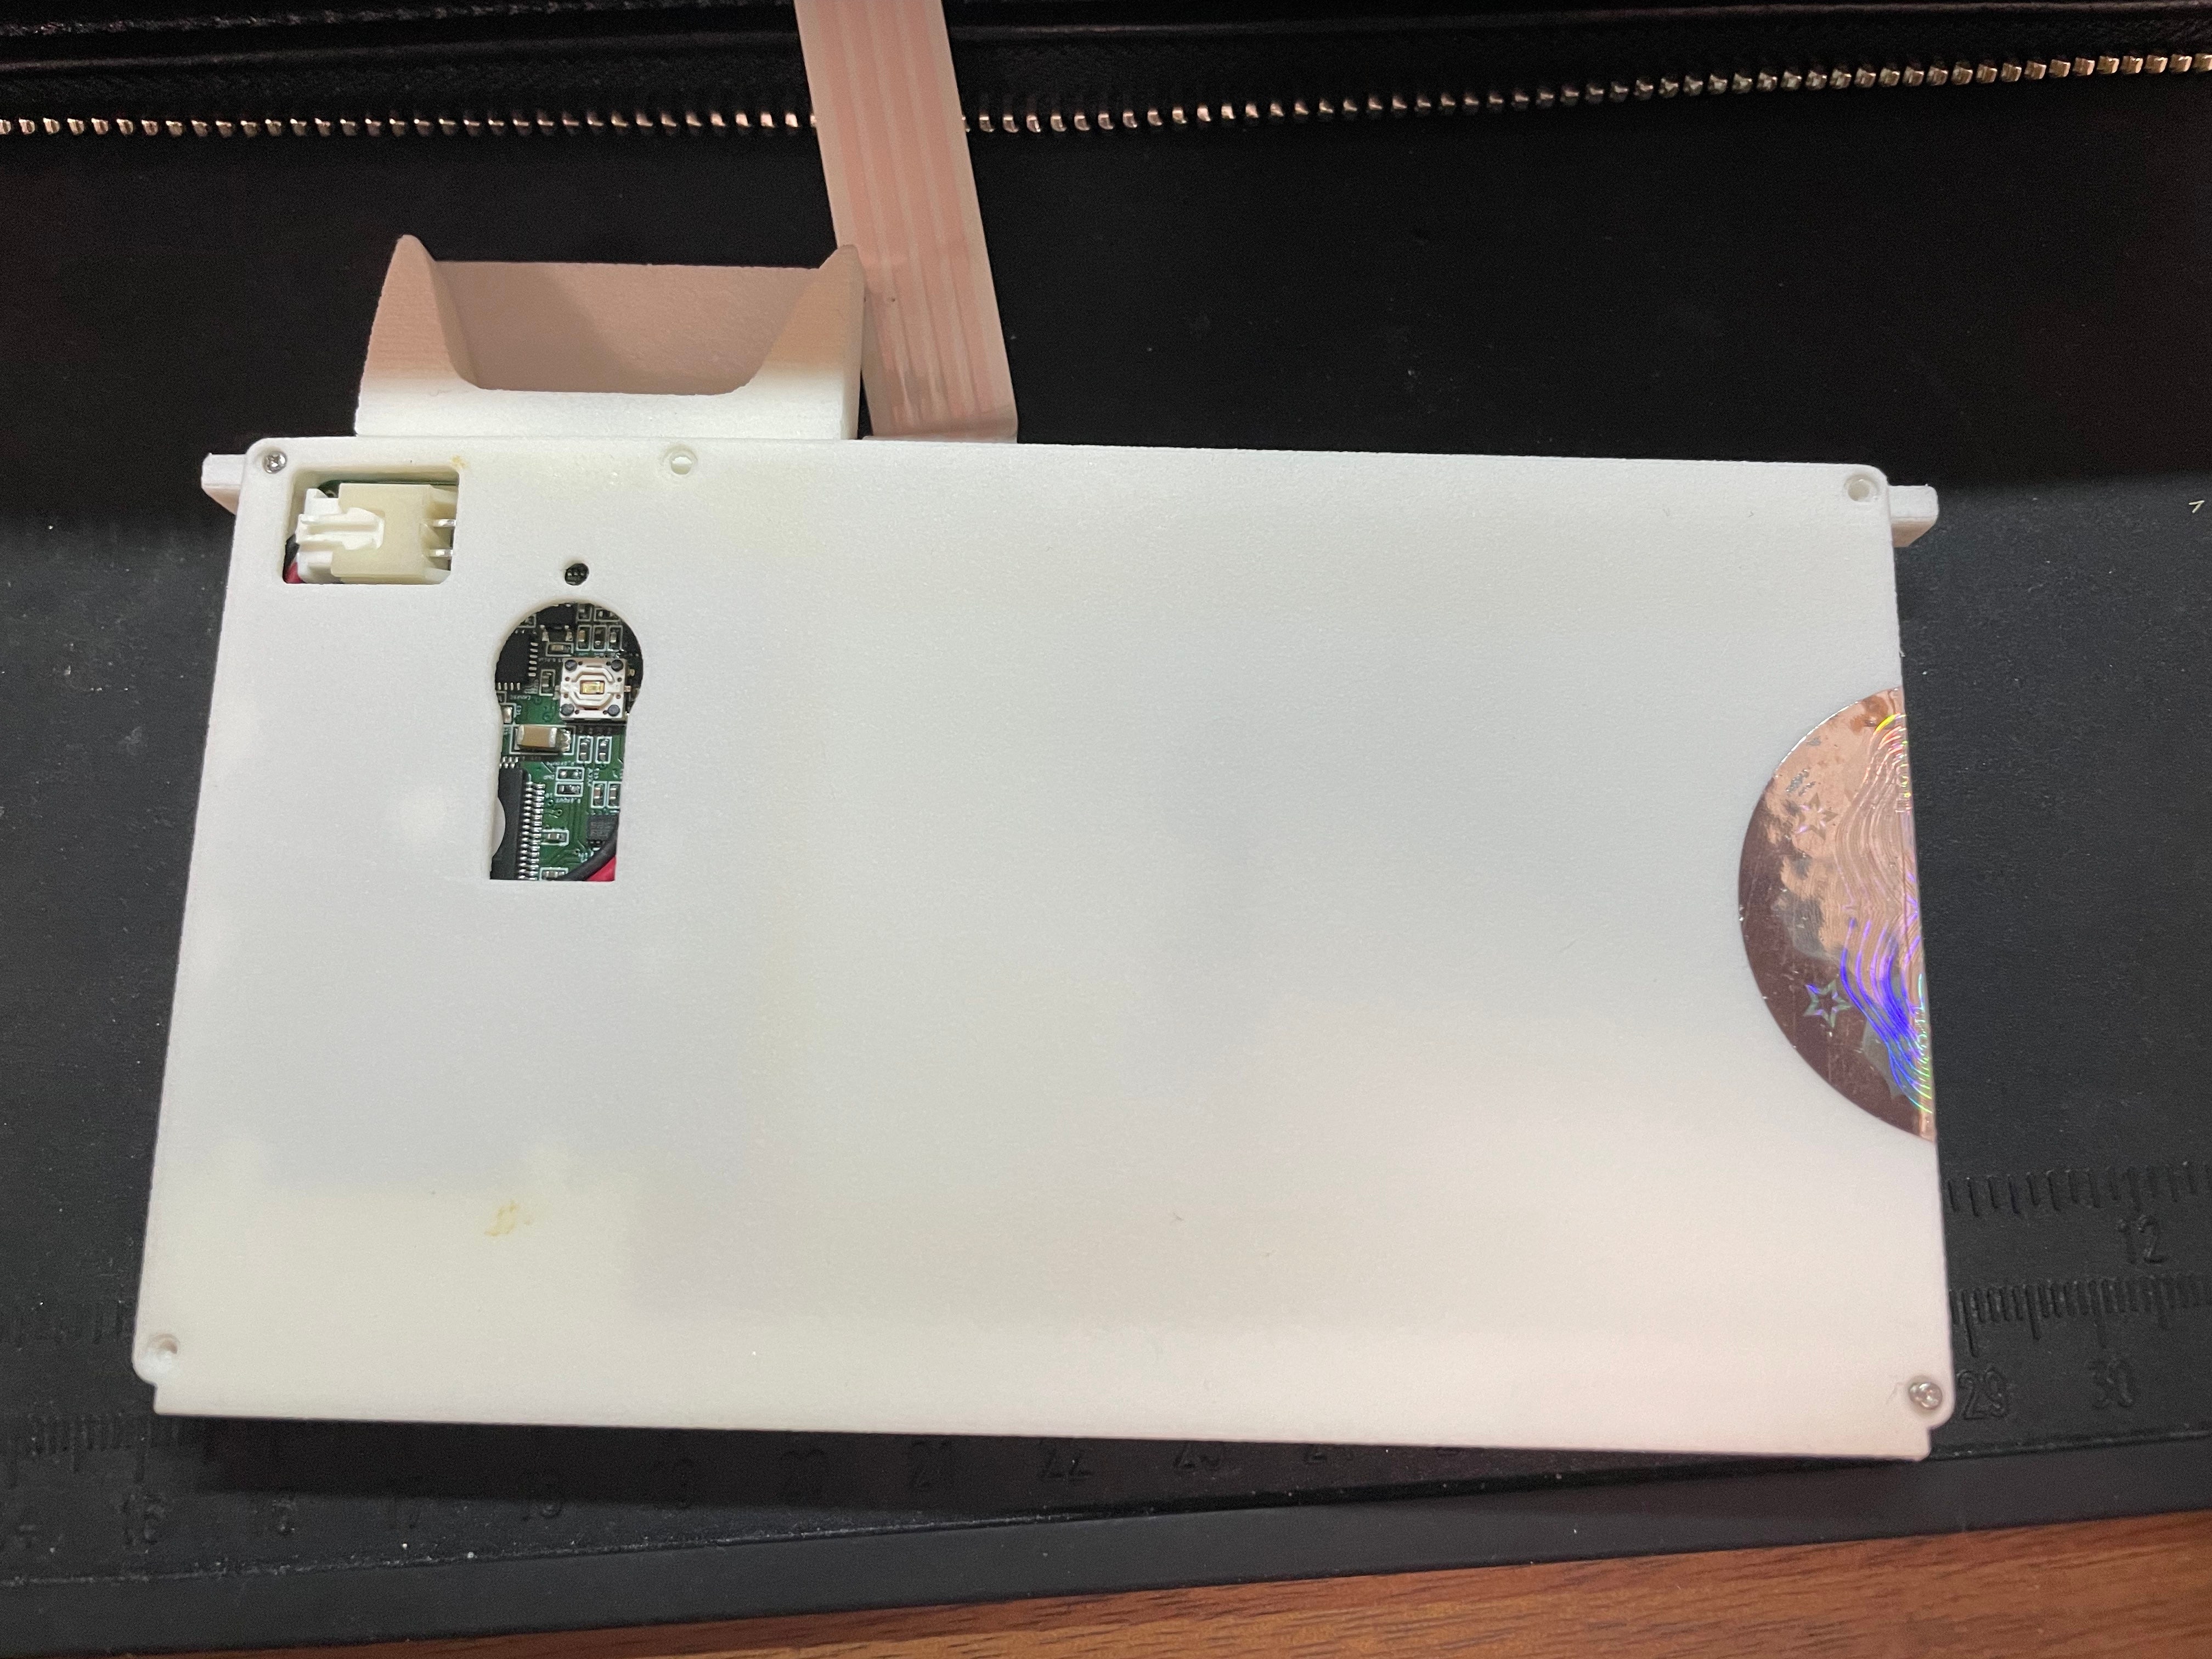
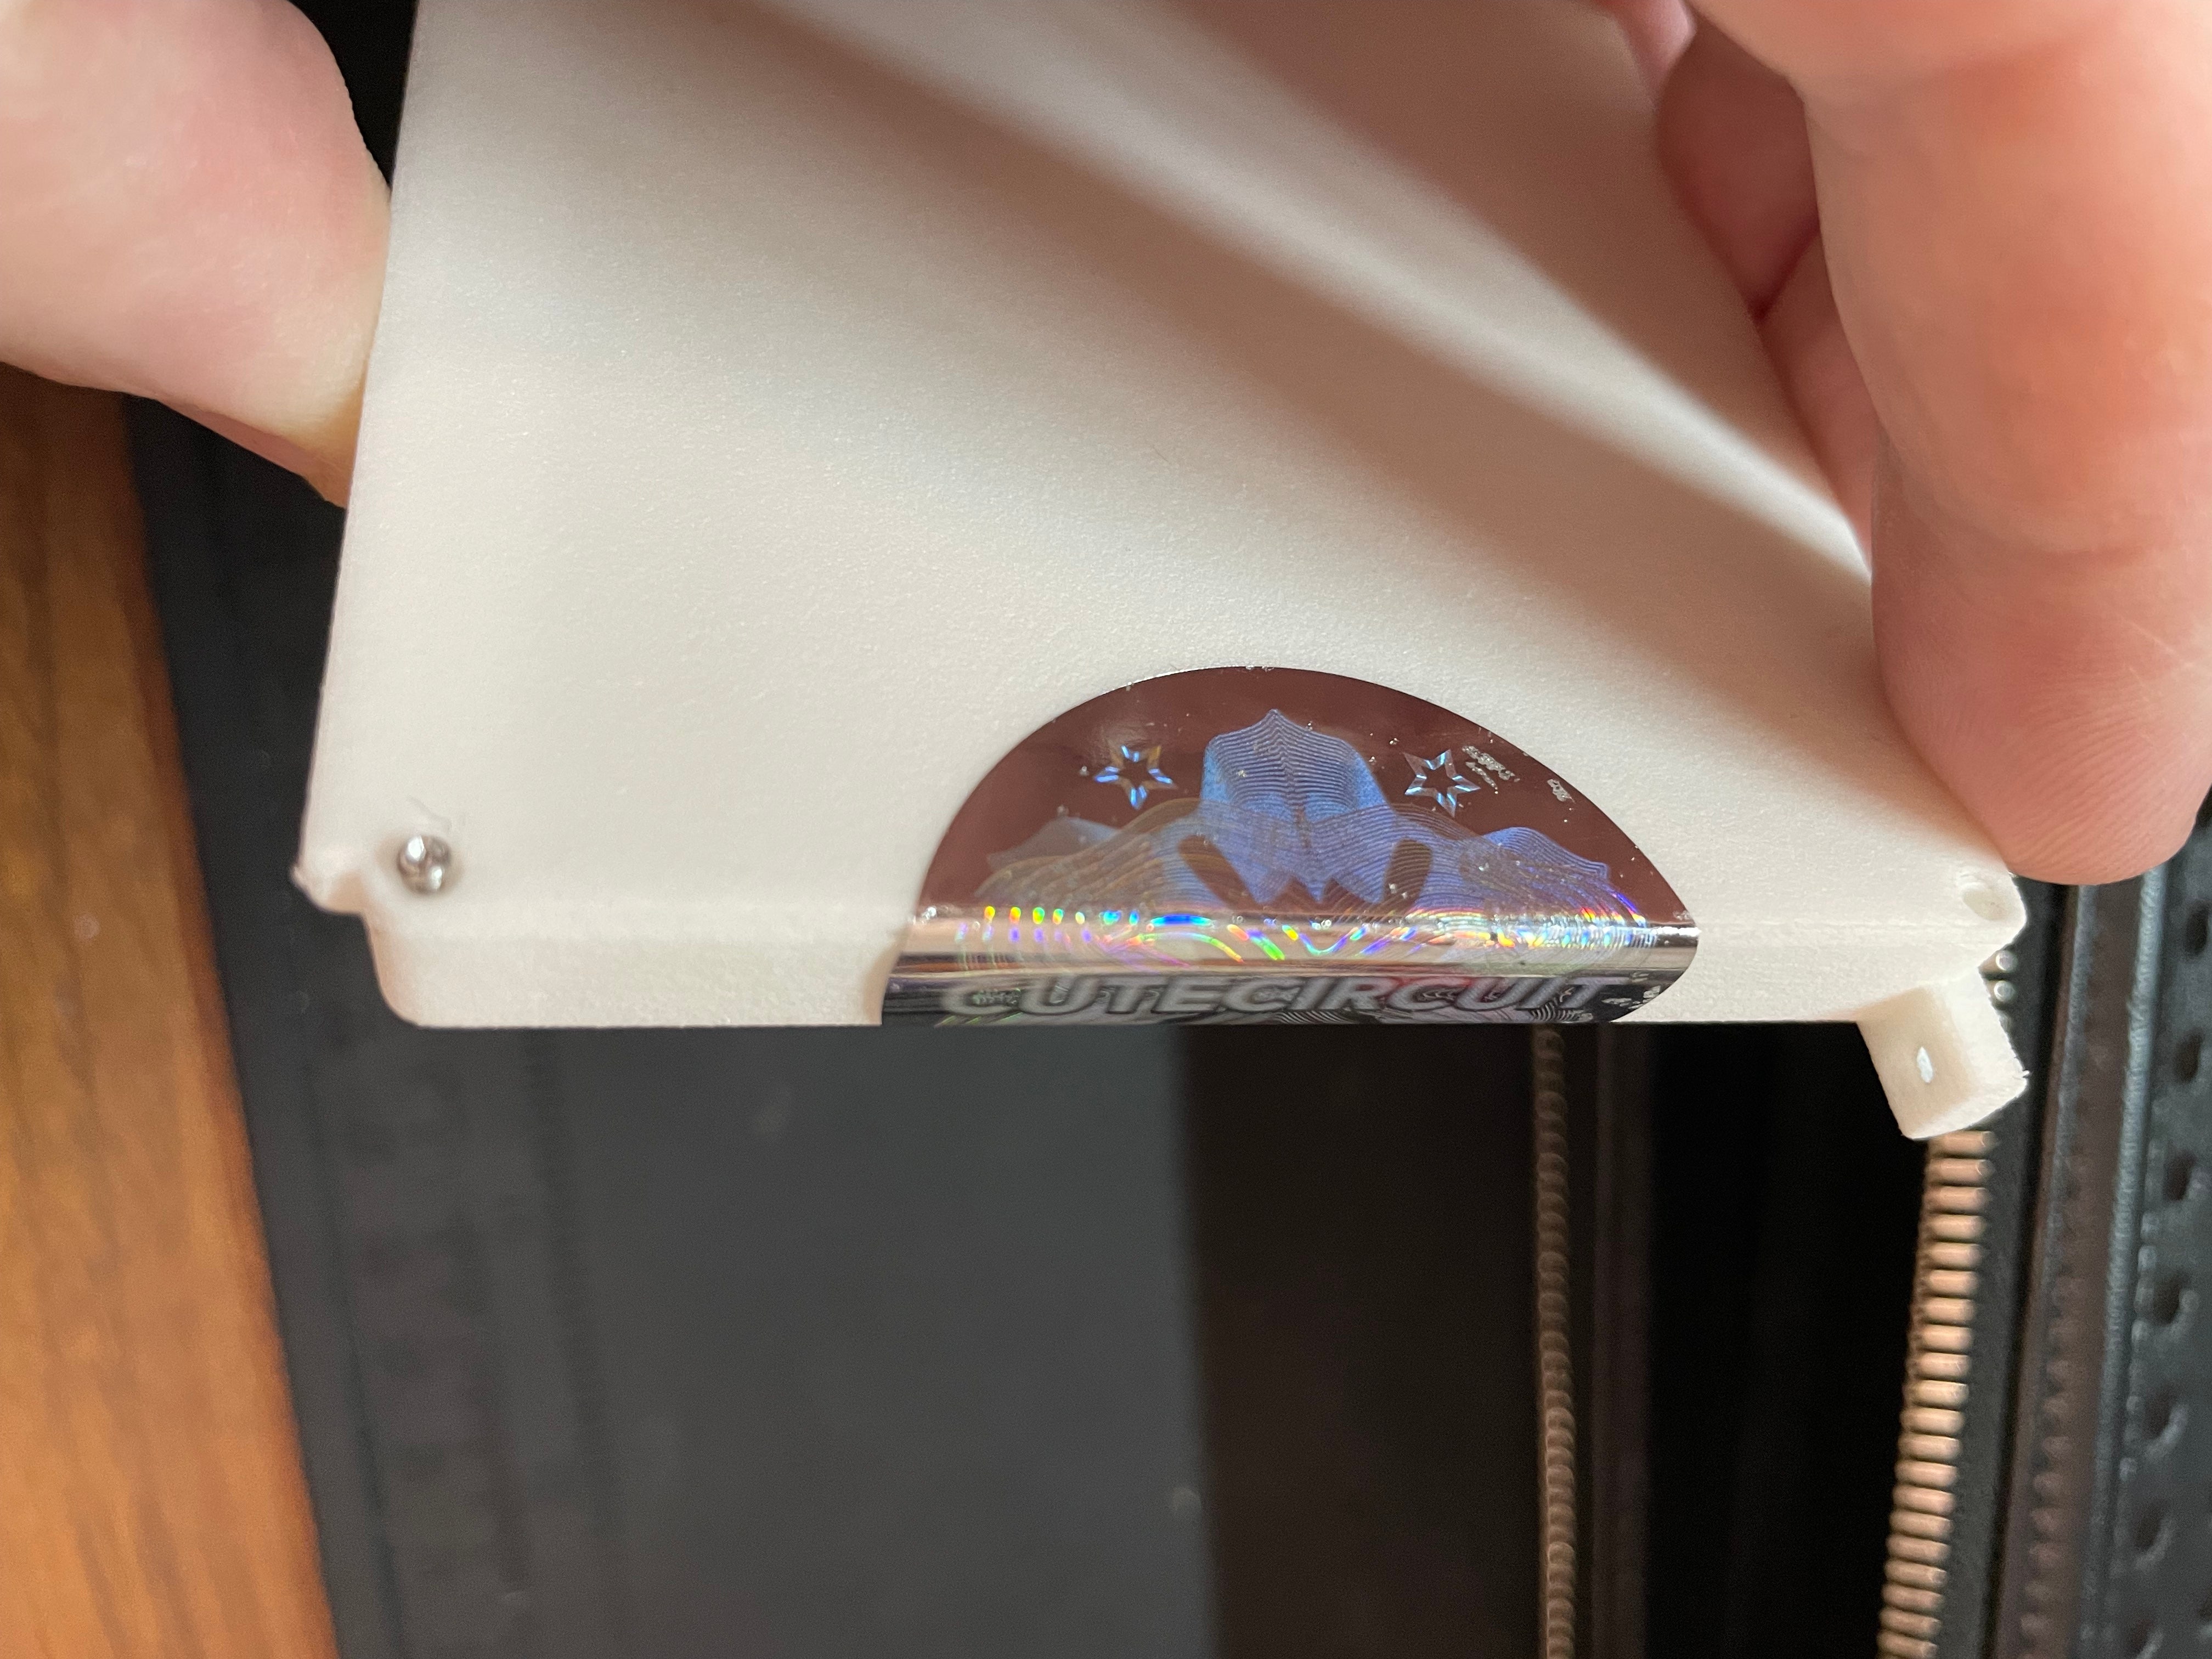
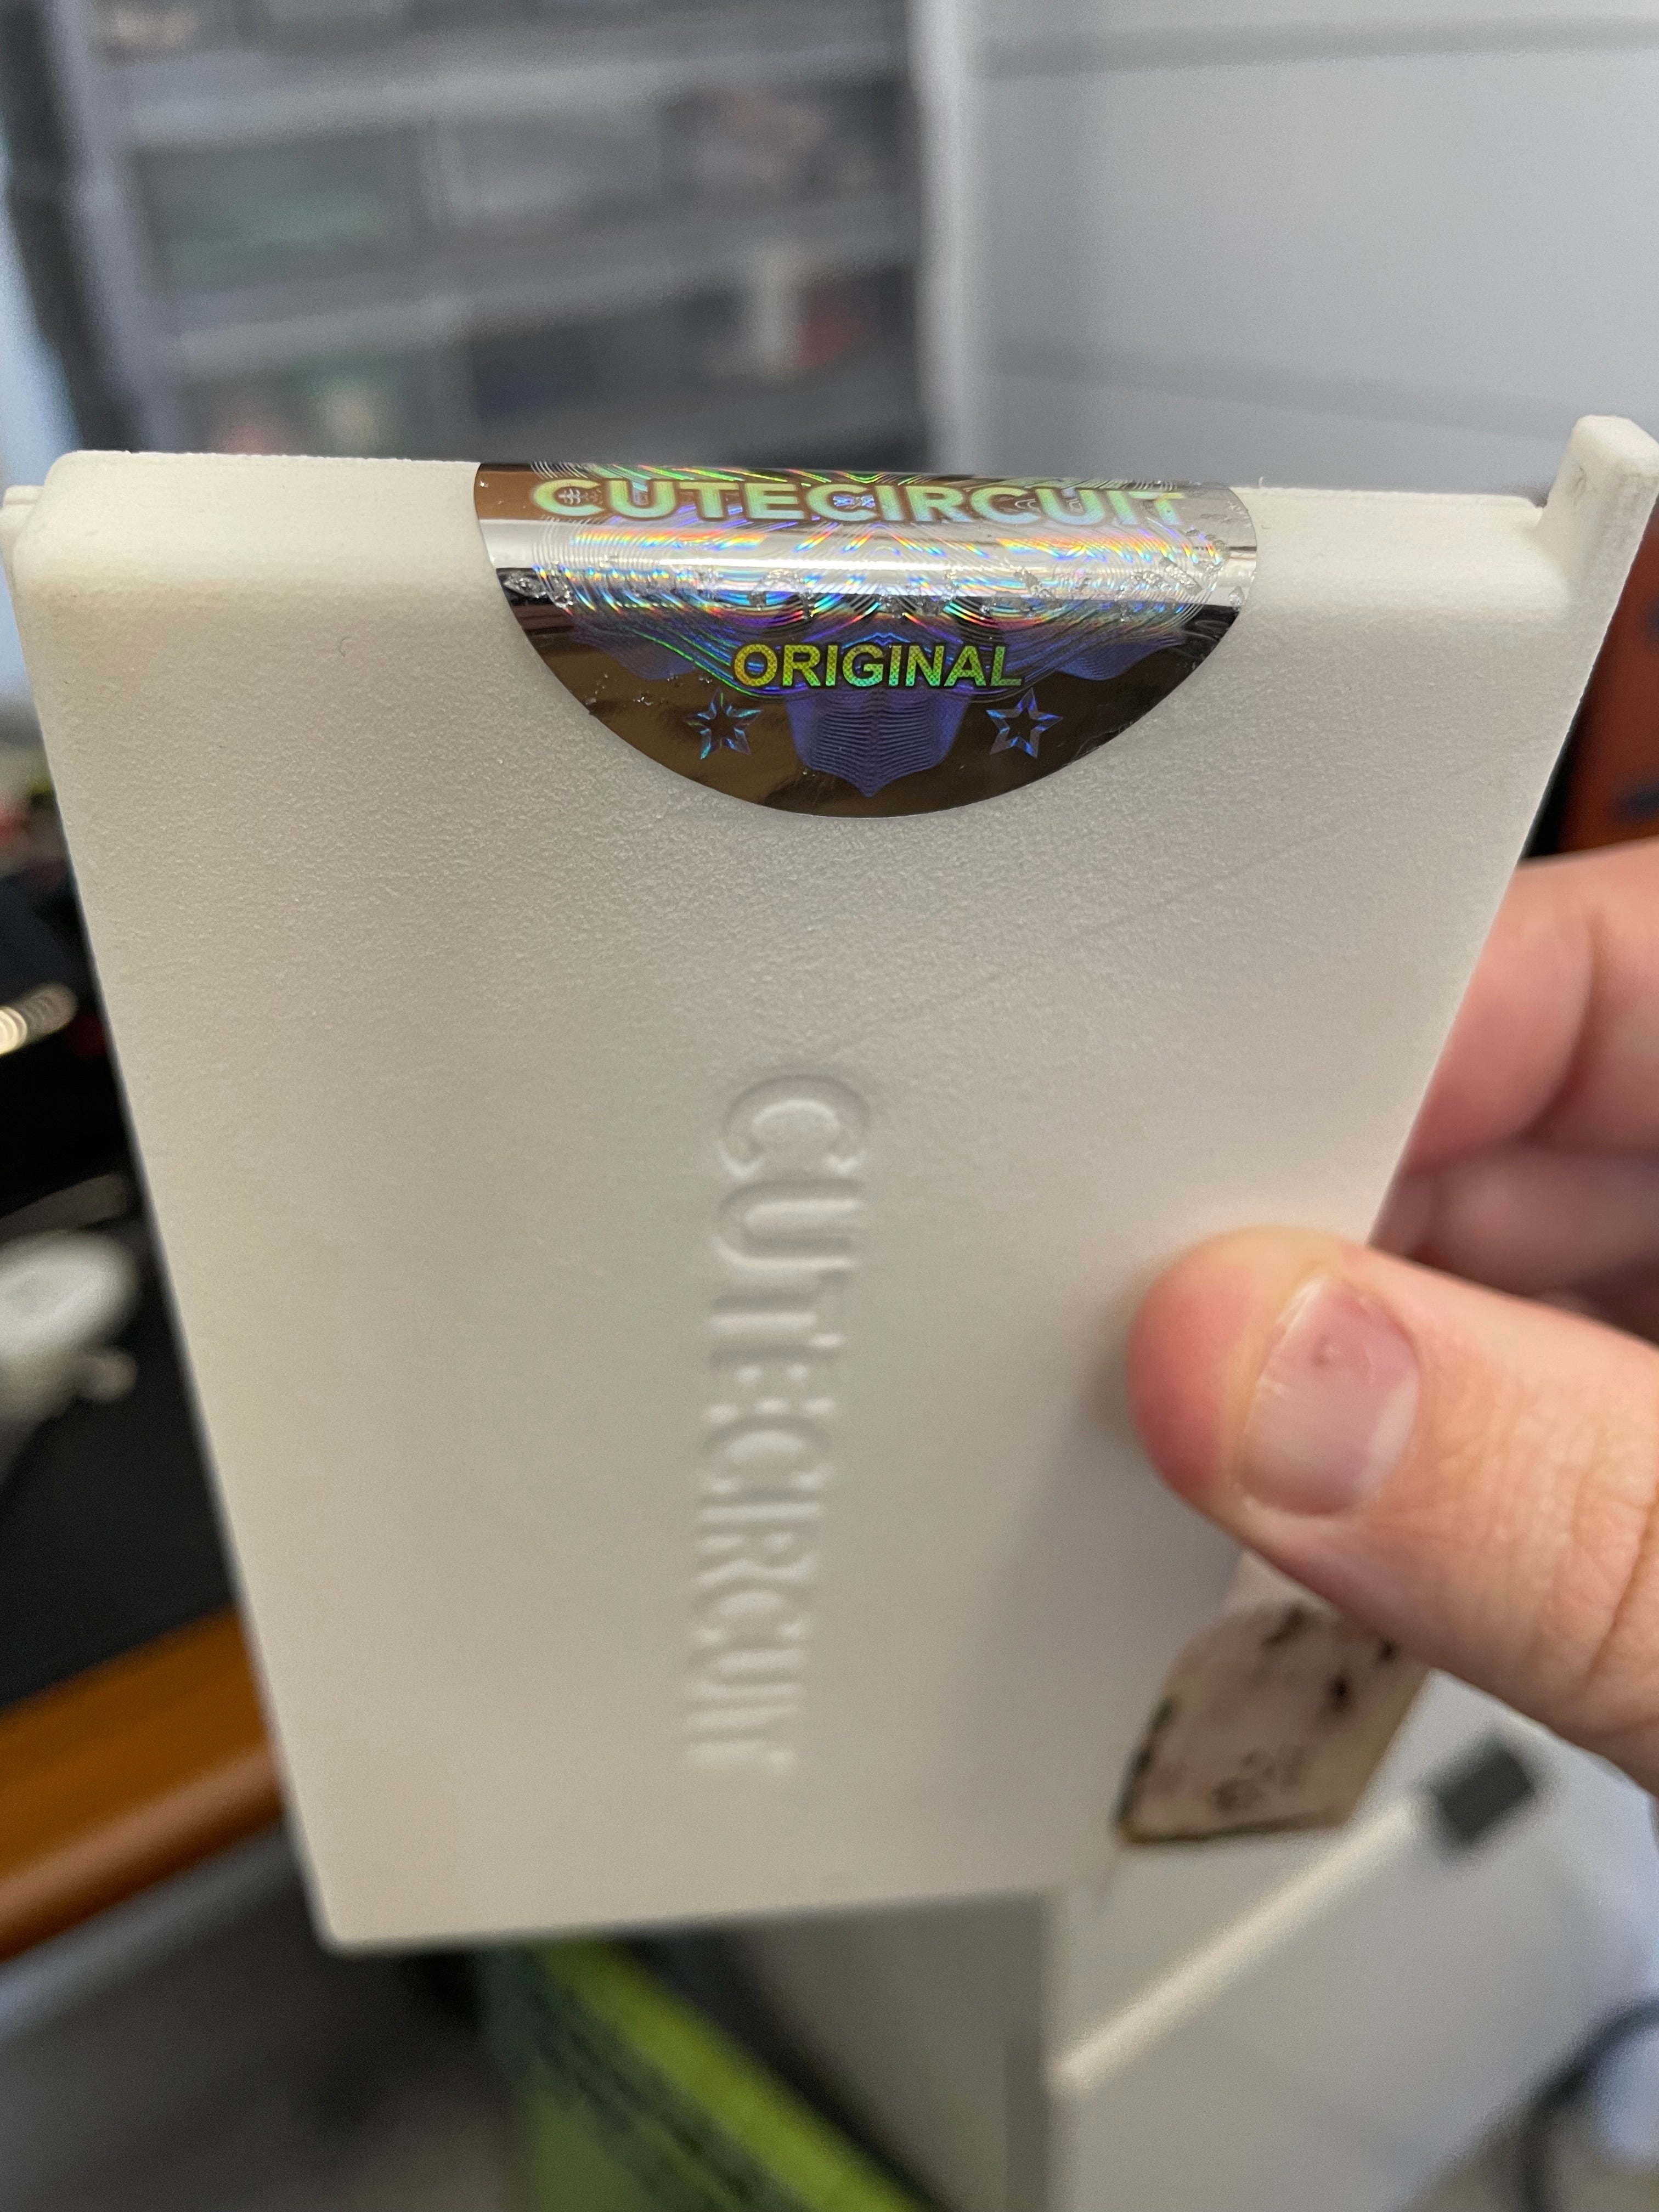
A 3D-printed plastic case contains the controller board and lithium battery. The case has a tamper-proof holographic sticker branded by CuteCircuit, a company that specializes in wearable fashion. The company doesn't appear to get much mention in the press about the Chanel show, but CuteCircuit's own website mentions the collaboration. (They also mention that the pieces would be made generally available to the public, but as far as I can kagi, that didn't end up happening.) The case is held closed with five 000 Phillips screws, and can be hinged open so as not to tear the sticker.
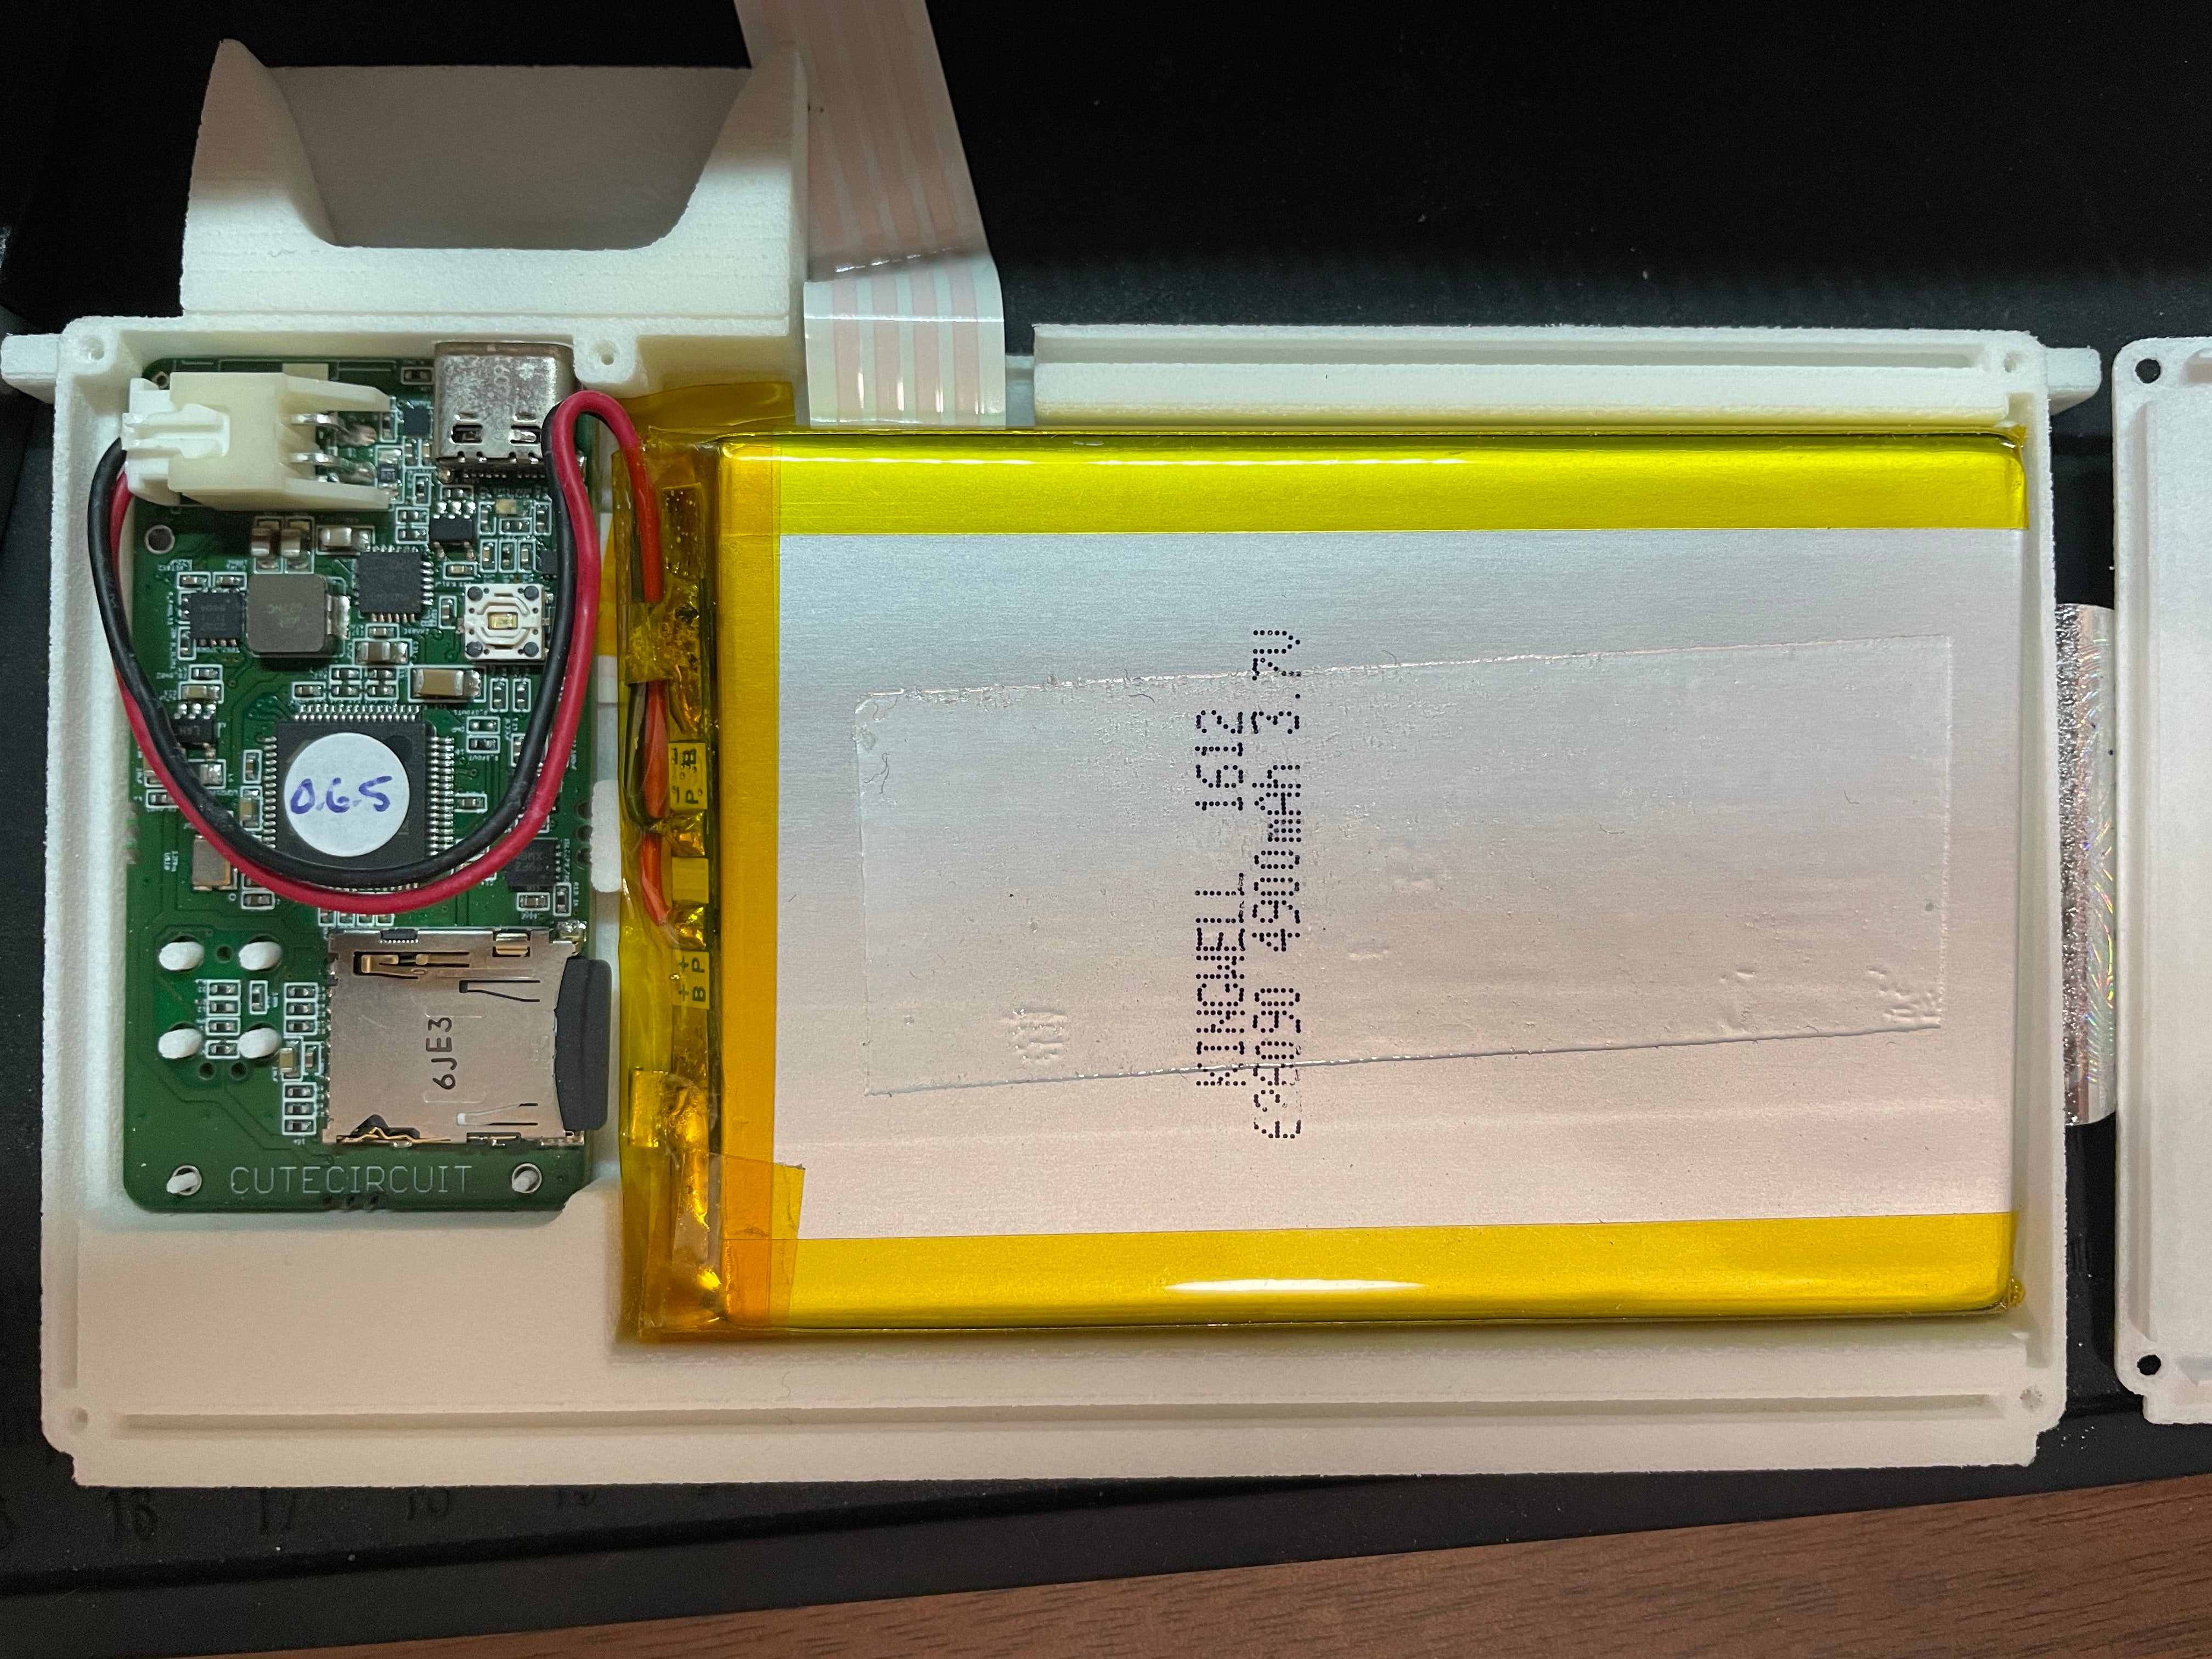
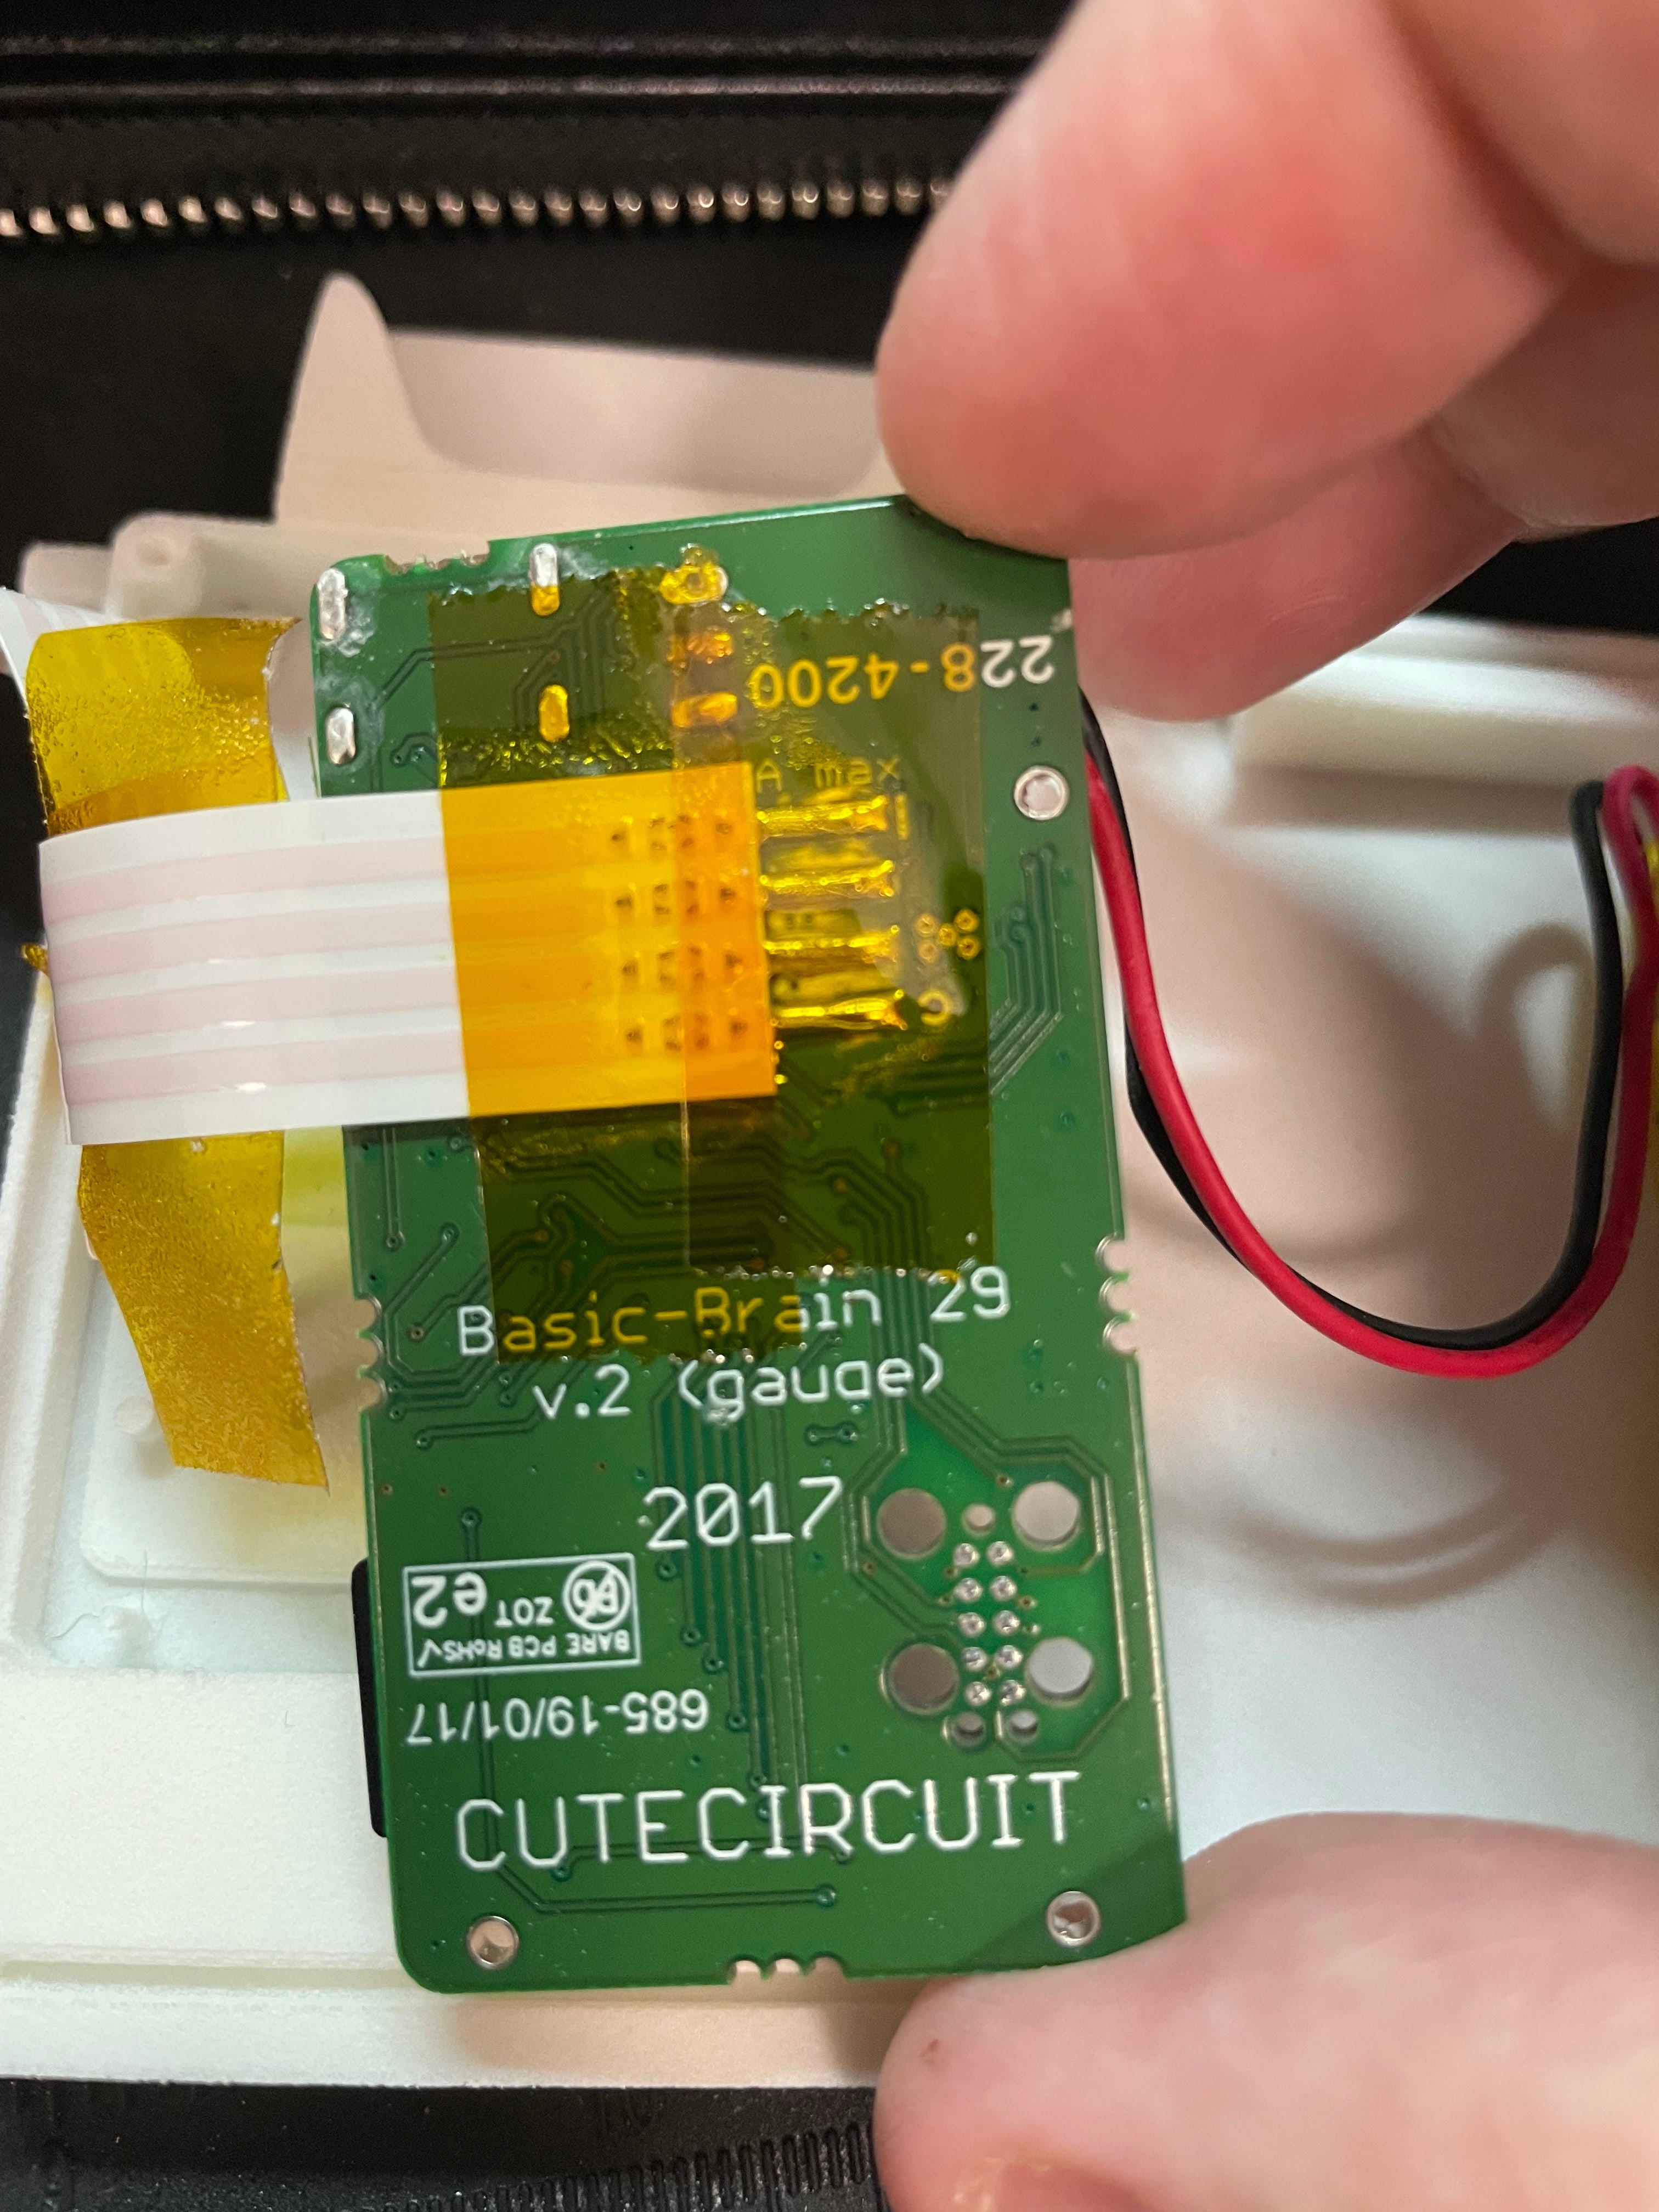
Inside the case, the battery is connected to the controller board with a removable jumper cable. It looks like a standard 3.7V pack so should be readily replaceable. The controller board itself houses a USB-C cable for charging, a microcontroller with a "0.6.5" version sticker, a push button with a blue LED that acts as on/off switch and changes the animation played on the LED panel, and a push-eject micro-SD card slot with a 4GB card inside. Funny enough, that was the only reason this particular bag "wasn't working"—the SD card had managed to pop out of the slot, and came back to life once I pushed the card back in. The controller board is also silkscreened with CuteCircuit branding, and on the back, it's versioned "Basic-Brain 29 v.2 (gauge)". The ribbon cable to the LED panel is soldered onto the back side of the board.
Pressing the button causes the panel to turn on, and pressing it again causes it to cycle through the patterns. Holding the button for a few seconds switches it back off.
What's on the SD card
The SD card has a standard FAT32 filesystem, with the following contents:
  boot.ini
  options.ini
  options_explanation.txt
▾ cutecct
  ▾ animate
      patt1
      patt1_info.txt
      patt2
      patt2_info.txt
      patt3
      patt3_info.txt
      ...
      patt28
      patt28_info.txt
  ▾ test
      patt4
      patt4_info.txt
boot.ini consists of a single line, use_bootloader=no; I haven't tried yet, but maybe that can be used to re-flash the controller. options.ini contains a bunch of information about the device hardware:
double_click_option=test
transport_type=BTLE
screen_address=7
reverse_uarts=no
parallel_uarts=yes
frame_split=1536
screen_color=4:4:4
screen_width=32
screen_height=32
while options_explanation.txt helpfully describes the various values for those options.
options_explanation.txt
TO DO:
Set Debug file so that Options file can go across a sector.
double_click_option
—————————————————————————
double_click_option=test	Play image frames in “test” folder slowly
double_click_option=random	Play random animations, successively   (key = "random")
transport_type
—————————————————————————
transport_type=Zigbee		ZigBee
transport_type=BTLE		BTLE   (key = "BTLE")
screen_address
—————————————————————————
screen_address=2		Only used for Zigbee (key = any number from 1 up to 255)
reverse_uarts
—————————————————————————
reverse_uarts=no		Top of frame is UART0, Bottom of frame is UART1
reverse_uarts=yes		Top of frame is UART1, Bottom of frame is UART0	(key = "yes")
parallel_uarts
—————————————————————————
parallel_uarts=no		Send different data out UARTS, i.e. From 0 to (frame_split-1) and frame_split to the end
parallel_uarts=yes		Send IDENTICAL data out both UARTS simultaneously	(key = "yes")
frame_split
—————————————————————————
frame_split=0			Where to divide the frame between UARTS. Only used if parallel_uarts=no.
frame_split=1536		First byte of second frame. (key = any number)
screen_color=color
—————————————————————————
screen_color=white4		Setup text rendering to display correctly on a WHITE screen, 4 bit compression
screen_color=3:3:2		The earlier colour compression type 3 bytes red & green, 2 bytes blue	(key = “3:3:2”)
screen_color=4:4:4		The newer compression type, 4 bytes per channel, 12 bytes per pixel 		(key = "4:4:4")
screen_size
—————————————————————————
screen_width=32			The maximum width of the screen at widest points 	(key = any number)
screen_height=32		The maximum height of the screen at widest points 	(key = any number)
When I searched the Internet for these options strings, the name "cutecct", or "basic brain", I was unable to find any hits (except for this chost now lol), so the firmware appears to be custom.
Even though the LED panel is physically 32 x 24, it apparently presents to the controller as a 32 x 32 display, and all of the Chanel animations are 32 x 32 as well, with animated pixels spanning the full canvas. The top and bottom four rows get cropped on this clutch, but maybe other designs in the collection had fully square displays.
The cutecct/animate directory contains the 28 different animations that come pre-programmed into the bag. Each pattern consists of a binary file with the animation information, and an info file with metadata about it. For example, patt1_info.txt contains the following text:
Source Folder is named = 25 Chanel Text Logo
First image in Source Folder = frame-000000.png
Number of Frames = 300
Frame Dimensions = Height: 32 Width: 32
Color Compression = 4:4:4
Date Compressed = 23 9 2016
Despite the talk of compression, the actual pattern file is an uncompressed array of 12-bit 32 x 32 RGB image frames, leading to 32 x 32 x 12/8 = 1,536 bytes per frame. The pixels are stored in column-major order rather than the more common row-major order, with pixels ordered top-to-bottom, and columns ordered left-to-right. The pixel components are four bits each for RGB, bit-packed in little endian order, with two pixels stored in every three bytes:
Byte      |       0       |       1       |       2       |
Bit       |0 1 2 3 4 5 6 7|0 1 2 3 4 5 6 7|0 1 2 3 4 5 6 7|
Pixel     |         (0,0)         |         (0,1)         |
Component |  Red  | Green |  Blue |  Red  | Green |  Blue |
So it's straightforward to write a script to convert this format into a series of files in some traditional image format, or make your own animation frames and pack them into a new pattern file. To install your own pattern file, replace any of the pattN files with your binary image, adjust the Number of Frames = line to match the number of frames in the new file, and you're good to go.
Charging the device
The controller board has a USB-C port, but it's one of those fake USB-C ports that only work with USB-A to USB-C charger-only cables, like the solid black cable that comes with the bag. It does not appear to detect low battery conditions, so if the battery gets low, then the display will start to glitch when lighting up too many LEDs at once, and you may see one or more 8 x 4 blocks of pixels black out or flash random colors. At least on this bag, charging the battery was sufficient to stop the glitching.